Making a treasure chest!
A few years ago, we were having a family meal in Fishcoteque in Waterloo (decent fish and chips in clearly the best-named restaurant in the world). On each table, there was a little wooden box holding spare napkins, ketchup packets and so on. To fit in with their nautical theme (well, fried fish-seller), each box was like a miniature pirate’s treasure chest 1. Arrrr very cute, I thought, and made a mental note of how it was made, me hearties!
Roll forward to late 2020, and I decided to have a go at making a much larger treasure chest as a Christmas present / toy box for the kids. I had a few bits of spare wood, including the wooden slats reclaimed from an old bed and a wide plank of pine. And I had optimism! So I went for it. I actually made two: first, a small one as a trial, then taking what I learned, I made a larger one. So here’s a pictorial history of what I did and what I learned along the way…
 |
 |
|
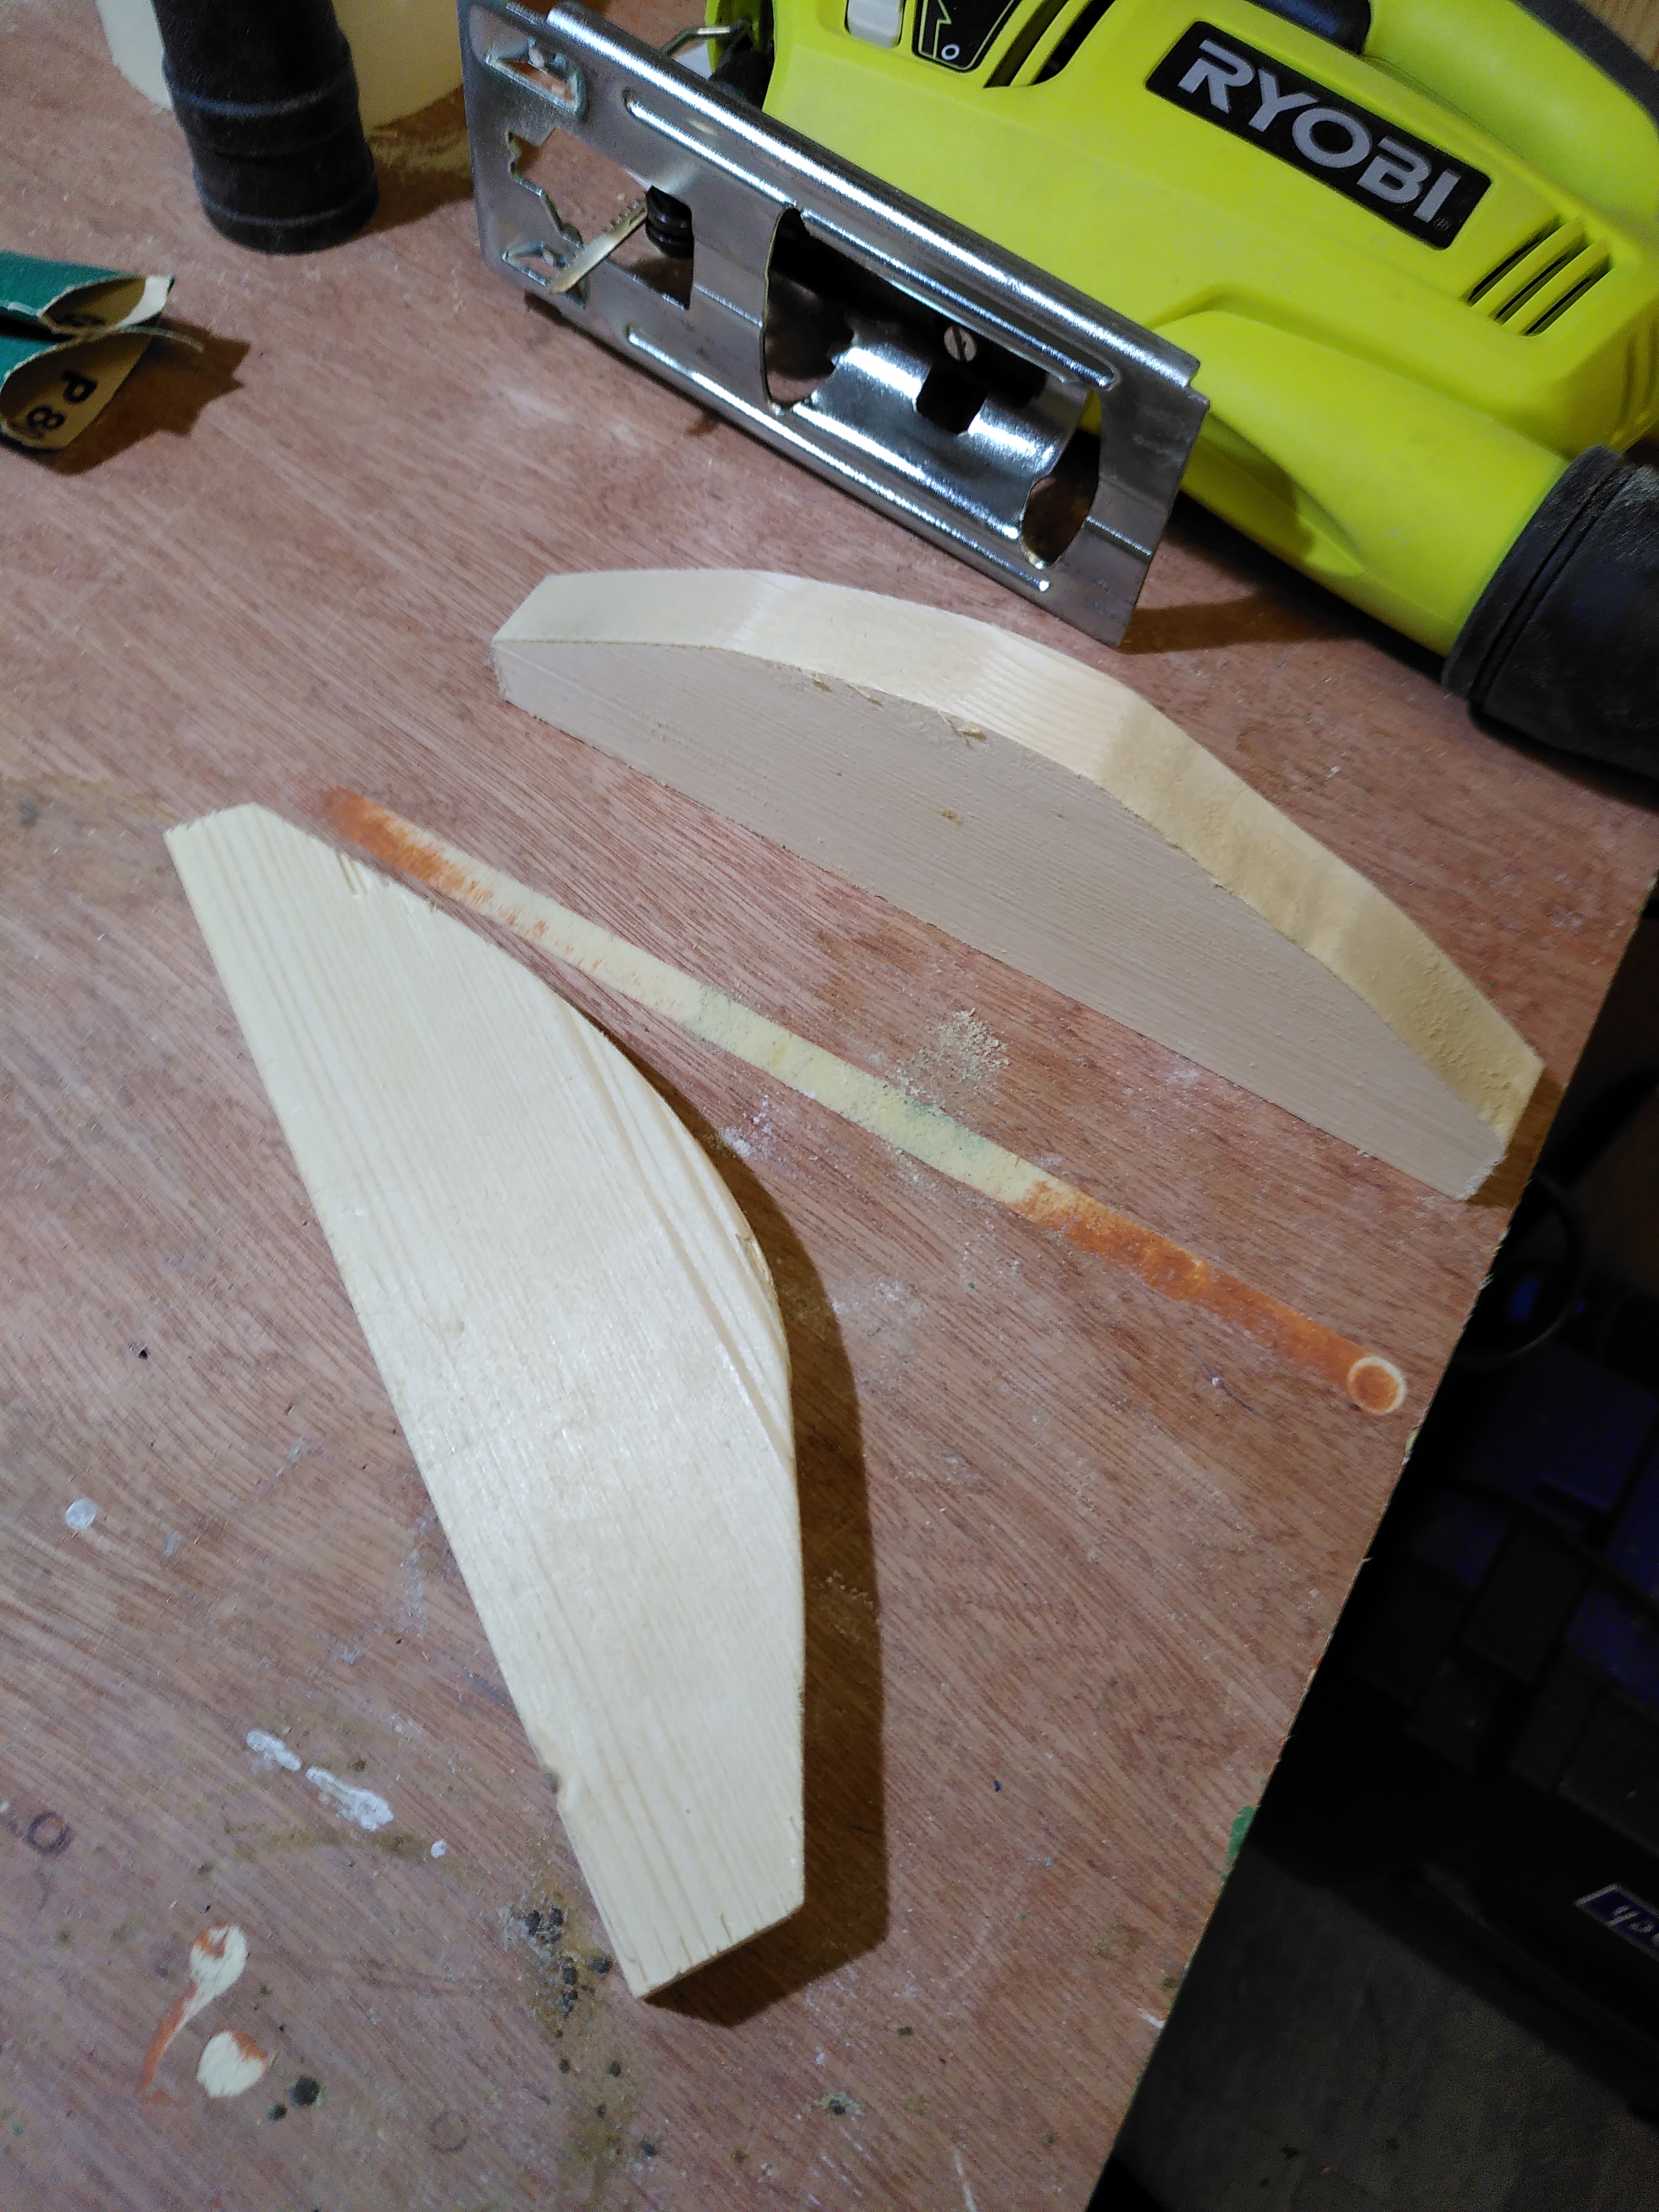
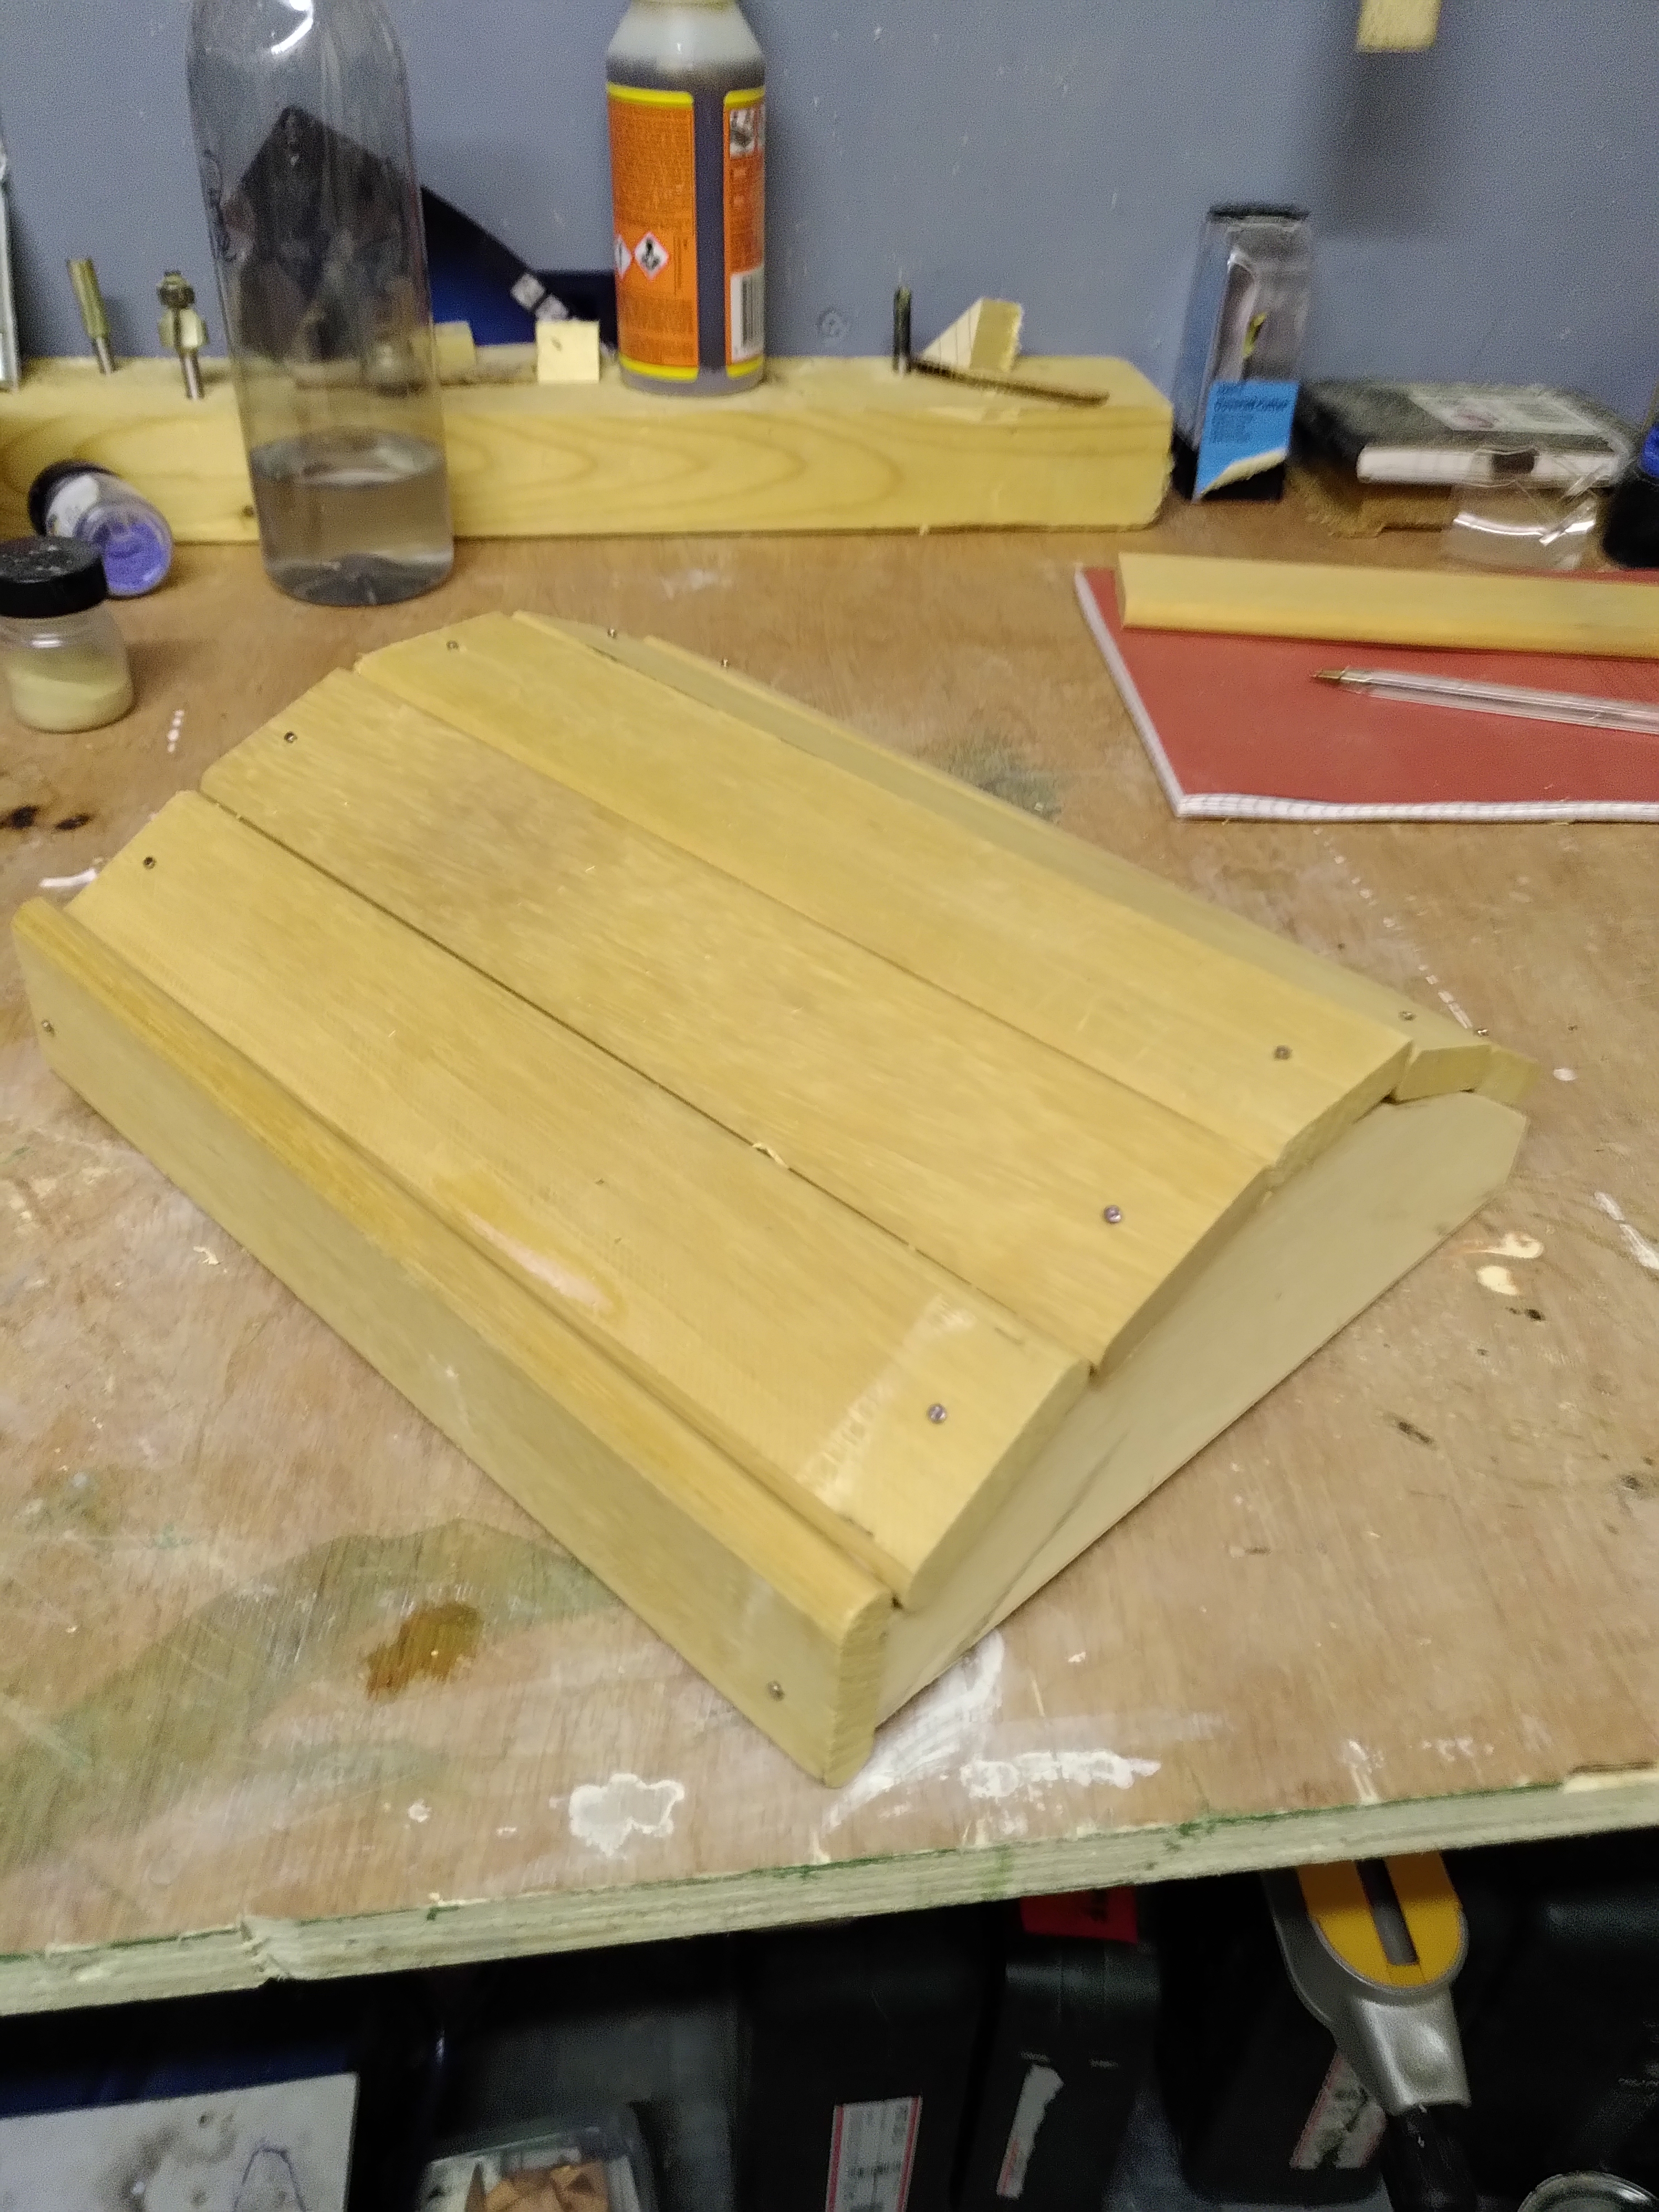
| First, I roughly cut the curved sides of the lid with a jig saw. A bit of sanding and, well, they were still rough. But I kept telling myself pirate’s chests probably were a bit rough. | Nailing on the cut-down bed slats with panel pins - these don’t look wonderful but it does look a bit like the lid of a treasure chest. |
| A bit of dovetail jointing to make the base and two side of the chest, then nailing more slats on the front (which helped make the box rigid), and then a heart-shaped knob that I picked up at B&Q. Coming on! | 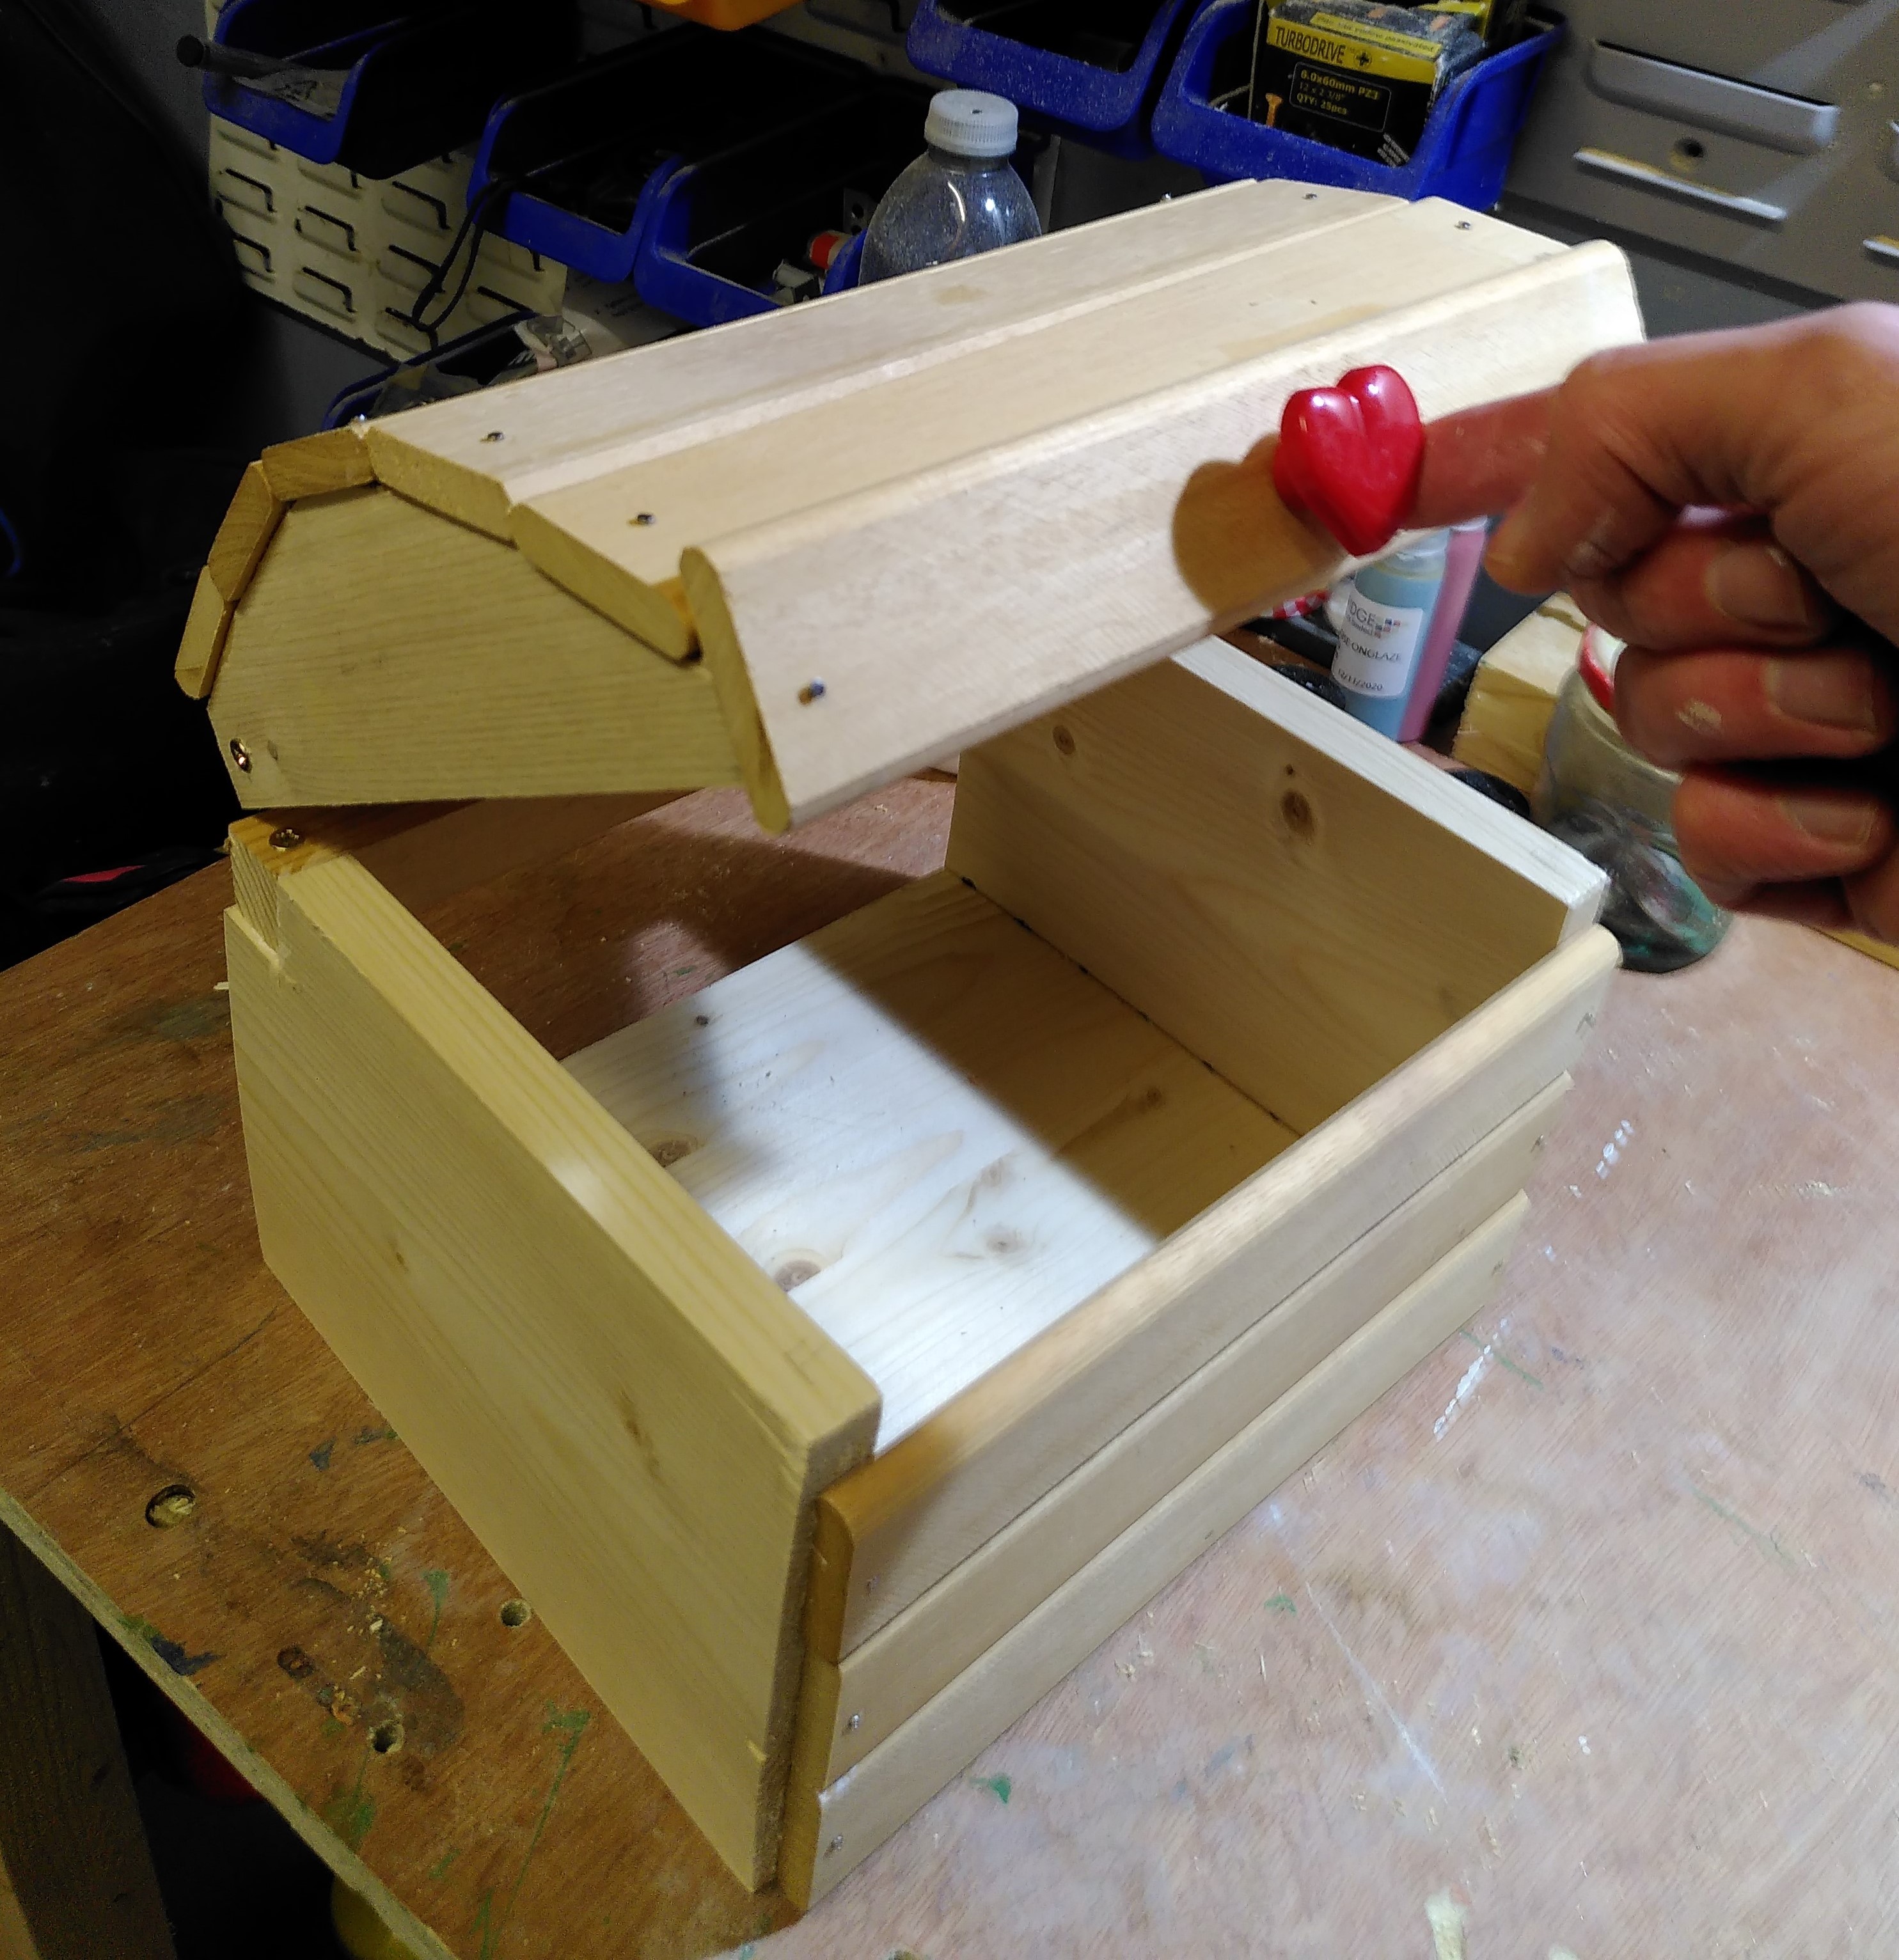 |
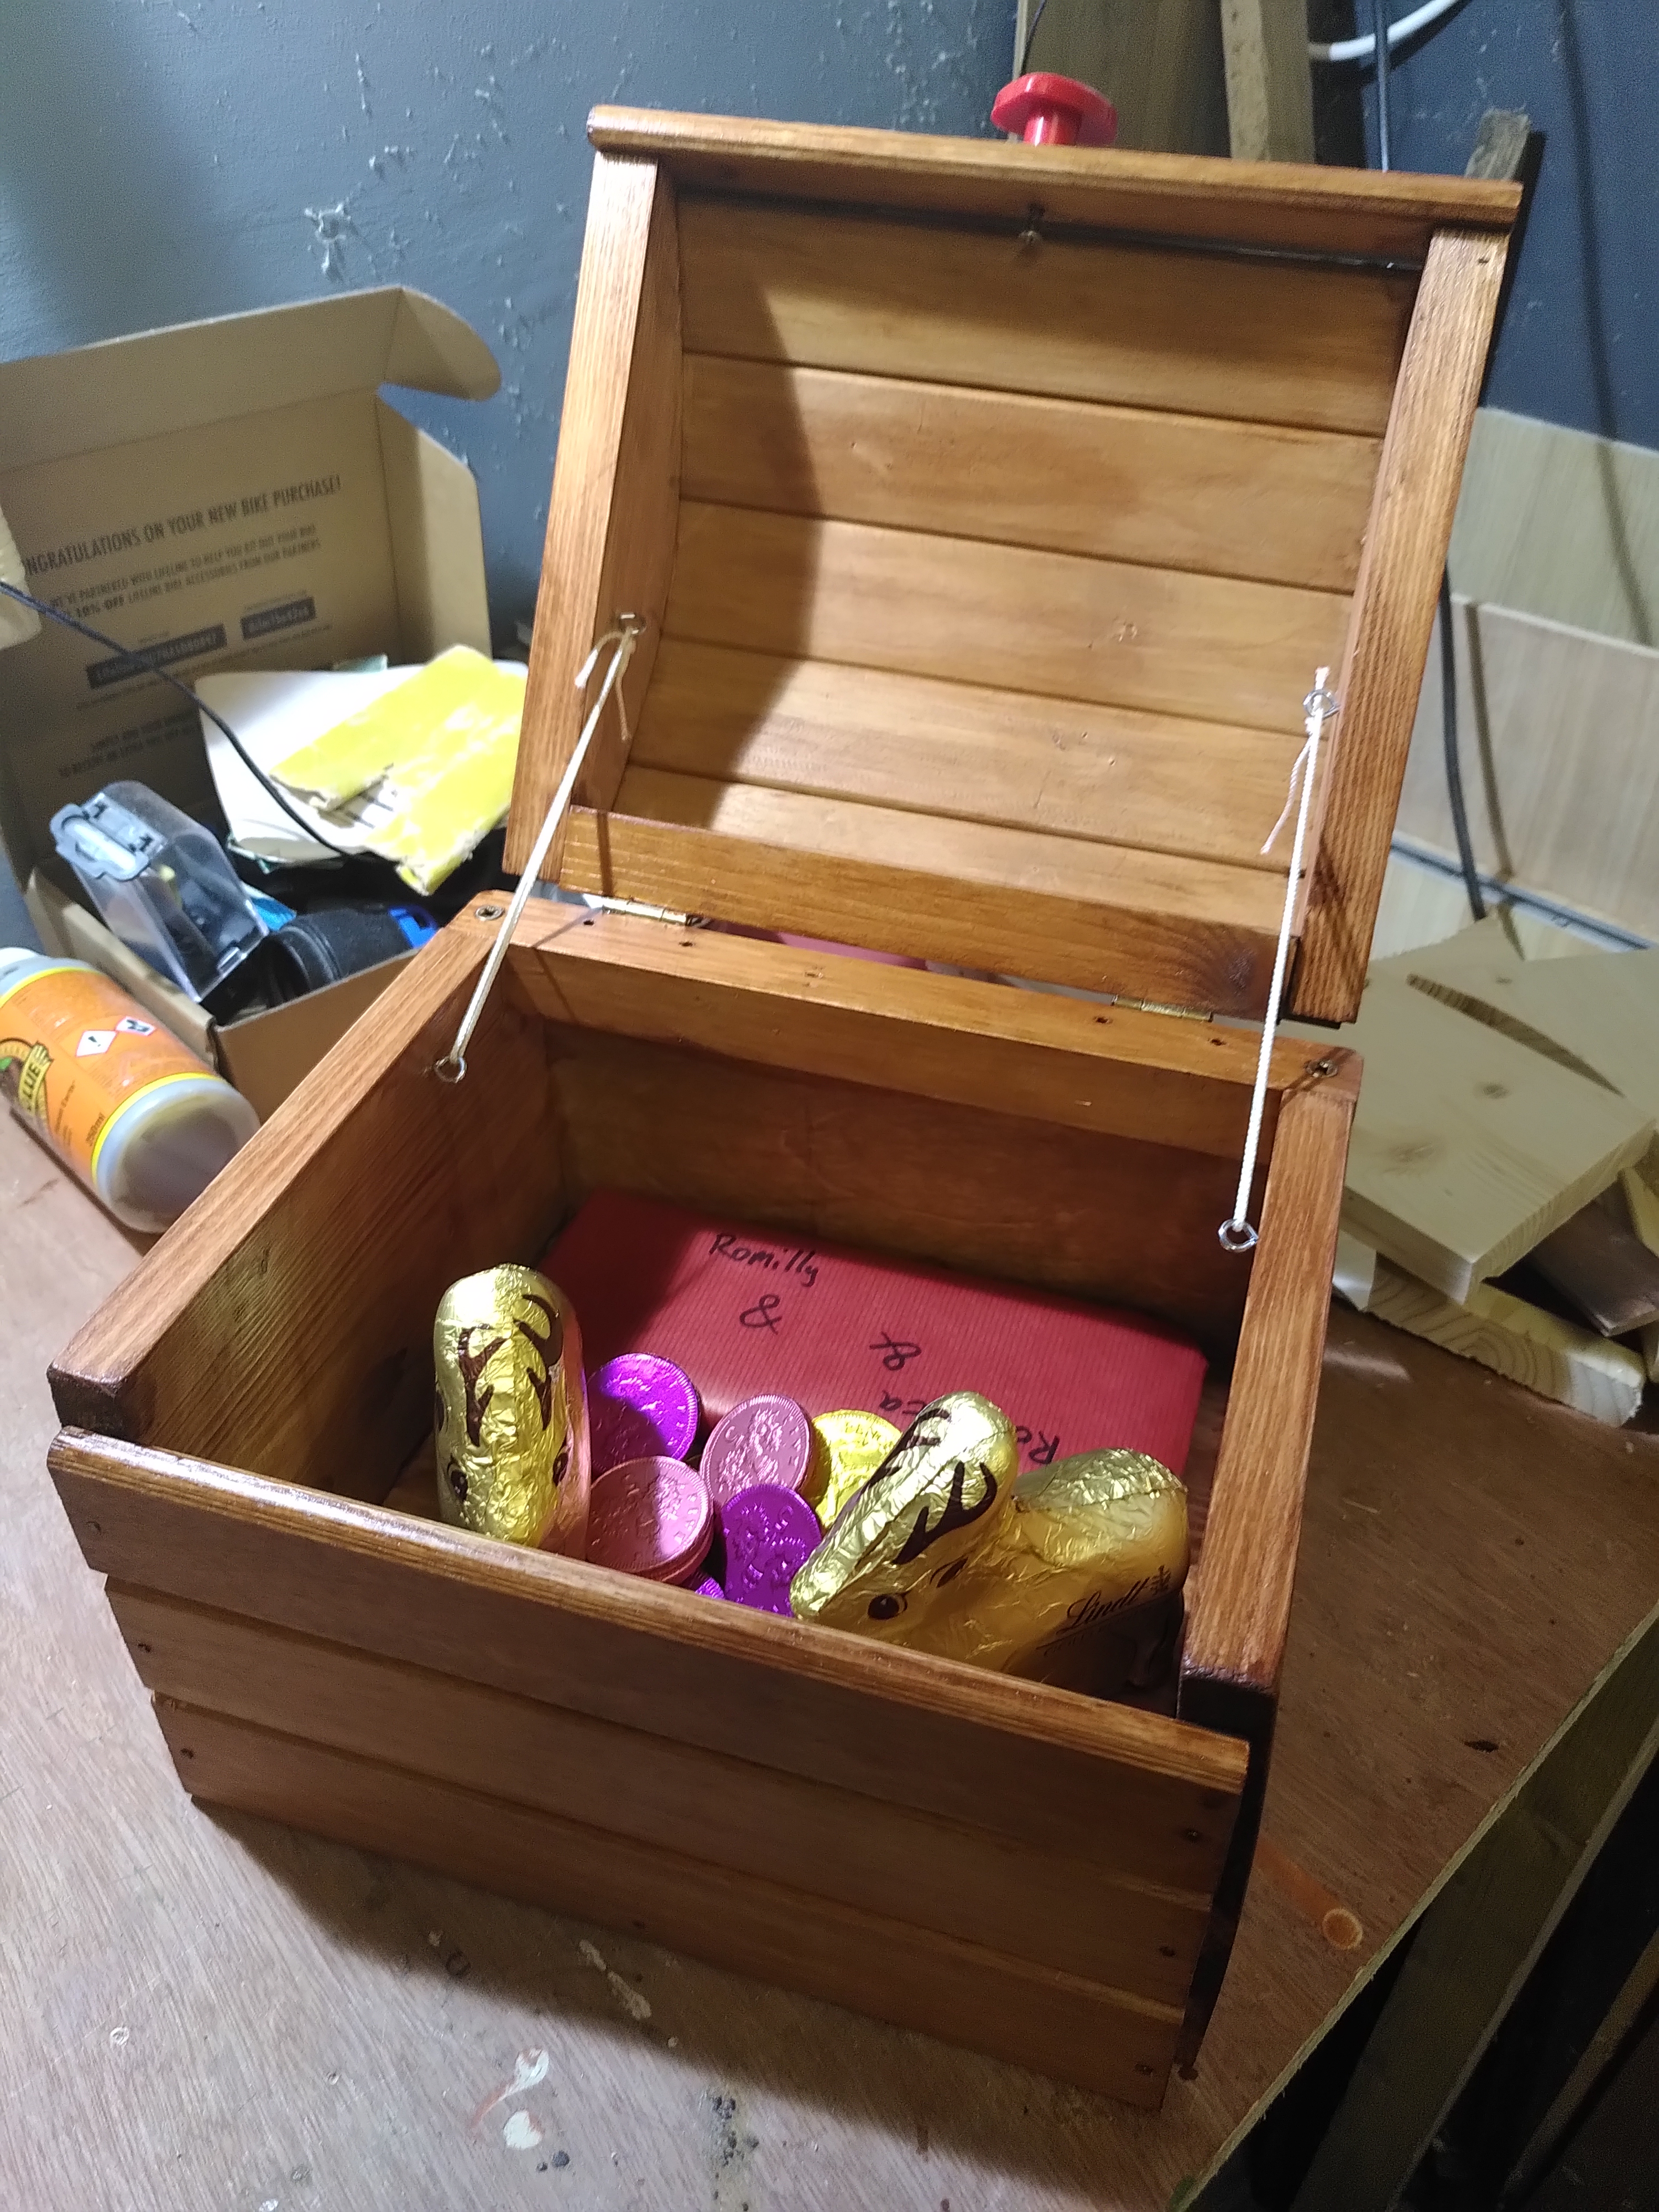 |
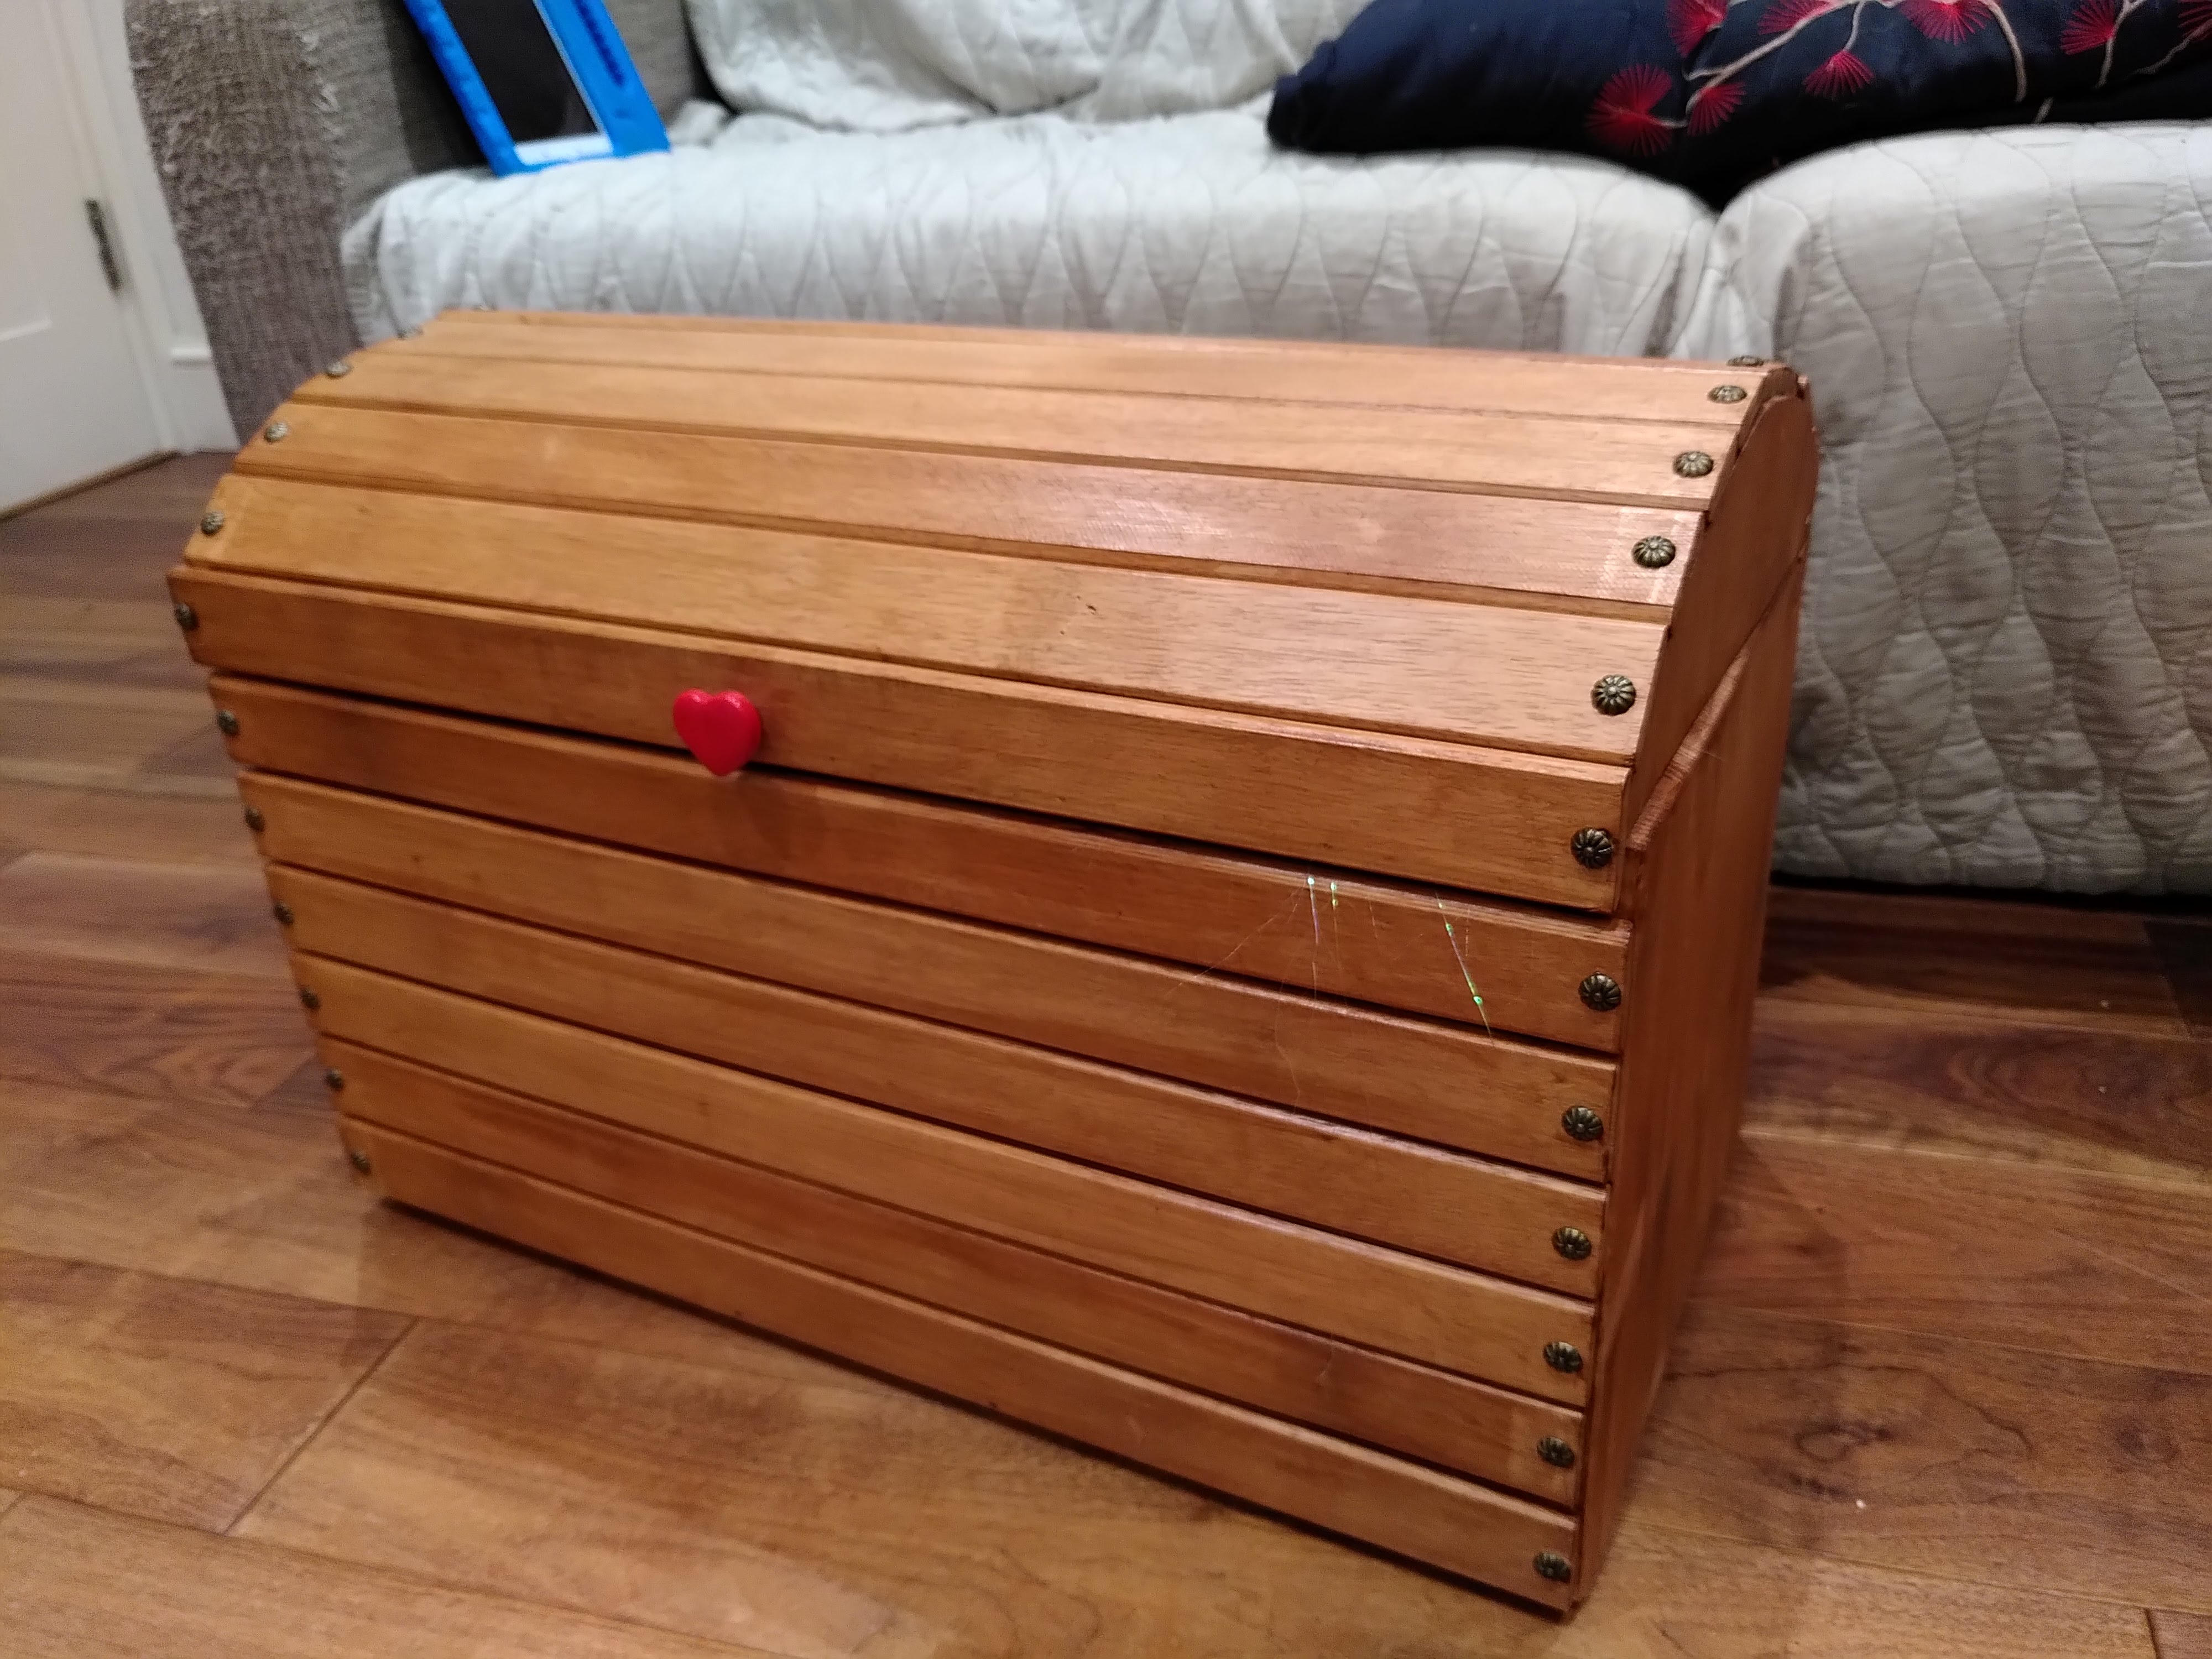
And once it’s coated in some teak varnish and the lid is restrained with a couple of bits of nylon string (to stop it opening too far), it doesn’t look too bad! Adding a few chocolate coins guarantees that the kids won’t notice the rather rough joints. |
So now I’d figured out how to make a little chest, it was time to start on the full sized one…
 |
I’d bought some upholstery nails as they had fancy decorated heads, but I found they were a bit too short to hold the wooden slats in place, and also quite hard to work with. So with a heave ho and a shiver me timbers, I nailed the slats with panel pins and then hammered in upholstery nails beside them, so the head of the latter covers the former. I also pre-drilled the nail holes with the tiniest drill bit I have (3mm, I think) which made the hammering a lot easier. |
| I used a pine board I had lying around, 300mm wide, to make the base and the two square sides. That was when I remembered that the jig I have for making dovetails takes wood up to 300mm wide! Perfect! Except it isn’t: I had to dismantle the jig to remove one of the the metal stops so that I could align the wood and make the cuts. For me, this Silverline jig is easy (with a bit of practice) up to c.280mm wide planks, but fiddly for anything 280-300mm. But I got there, and the joints are plenty strong enough without glue. | 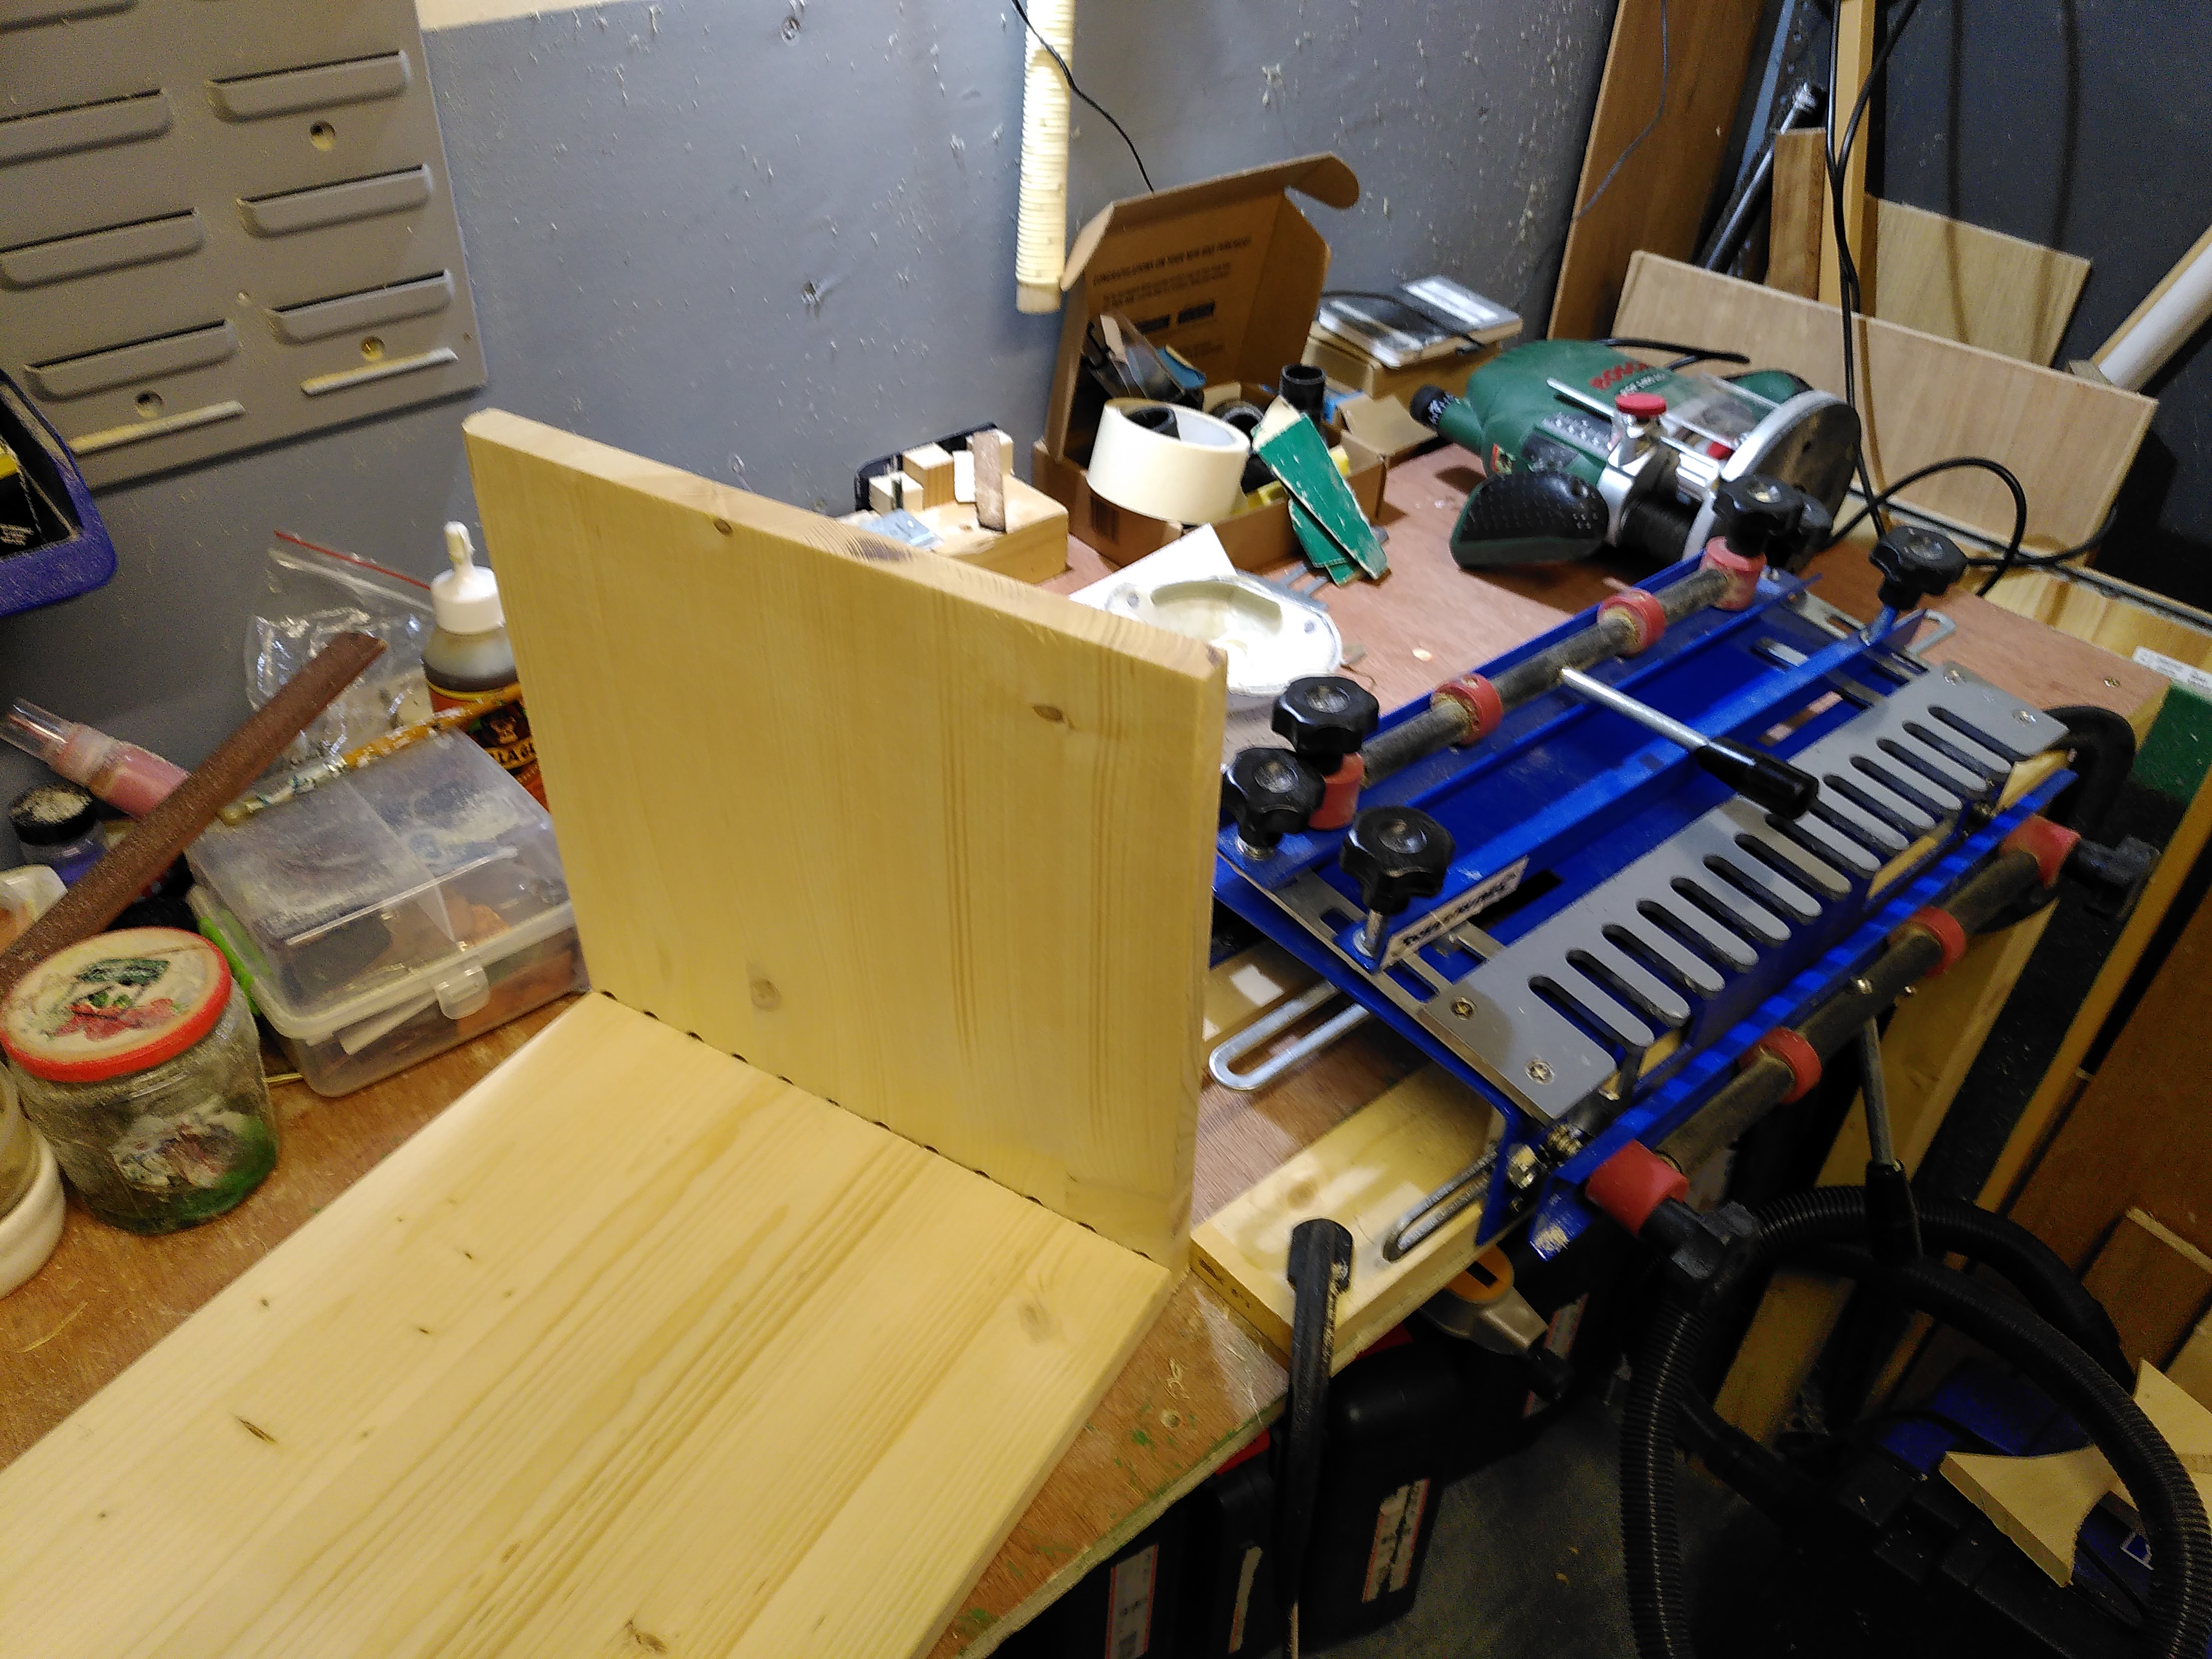 |
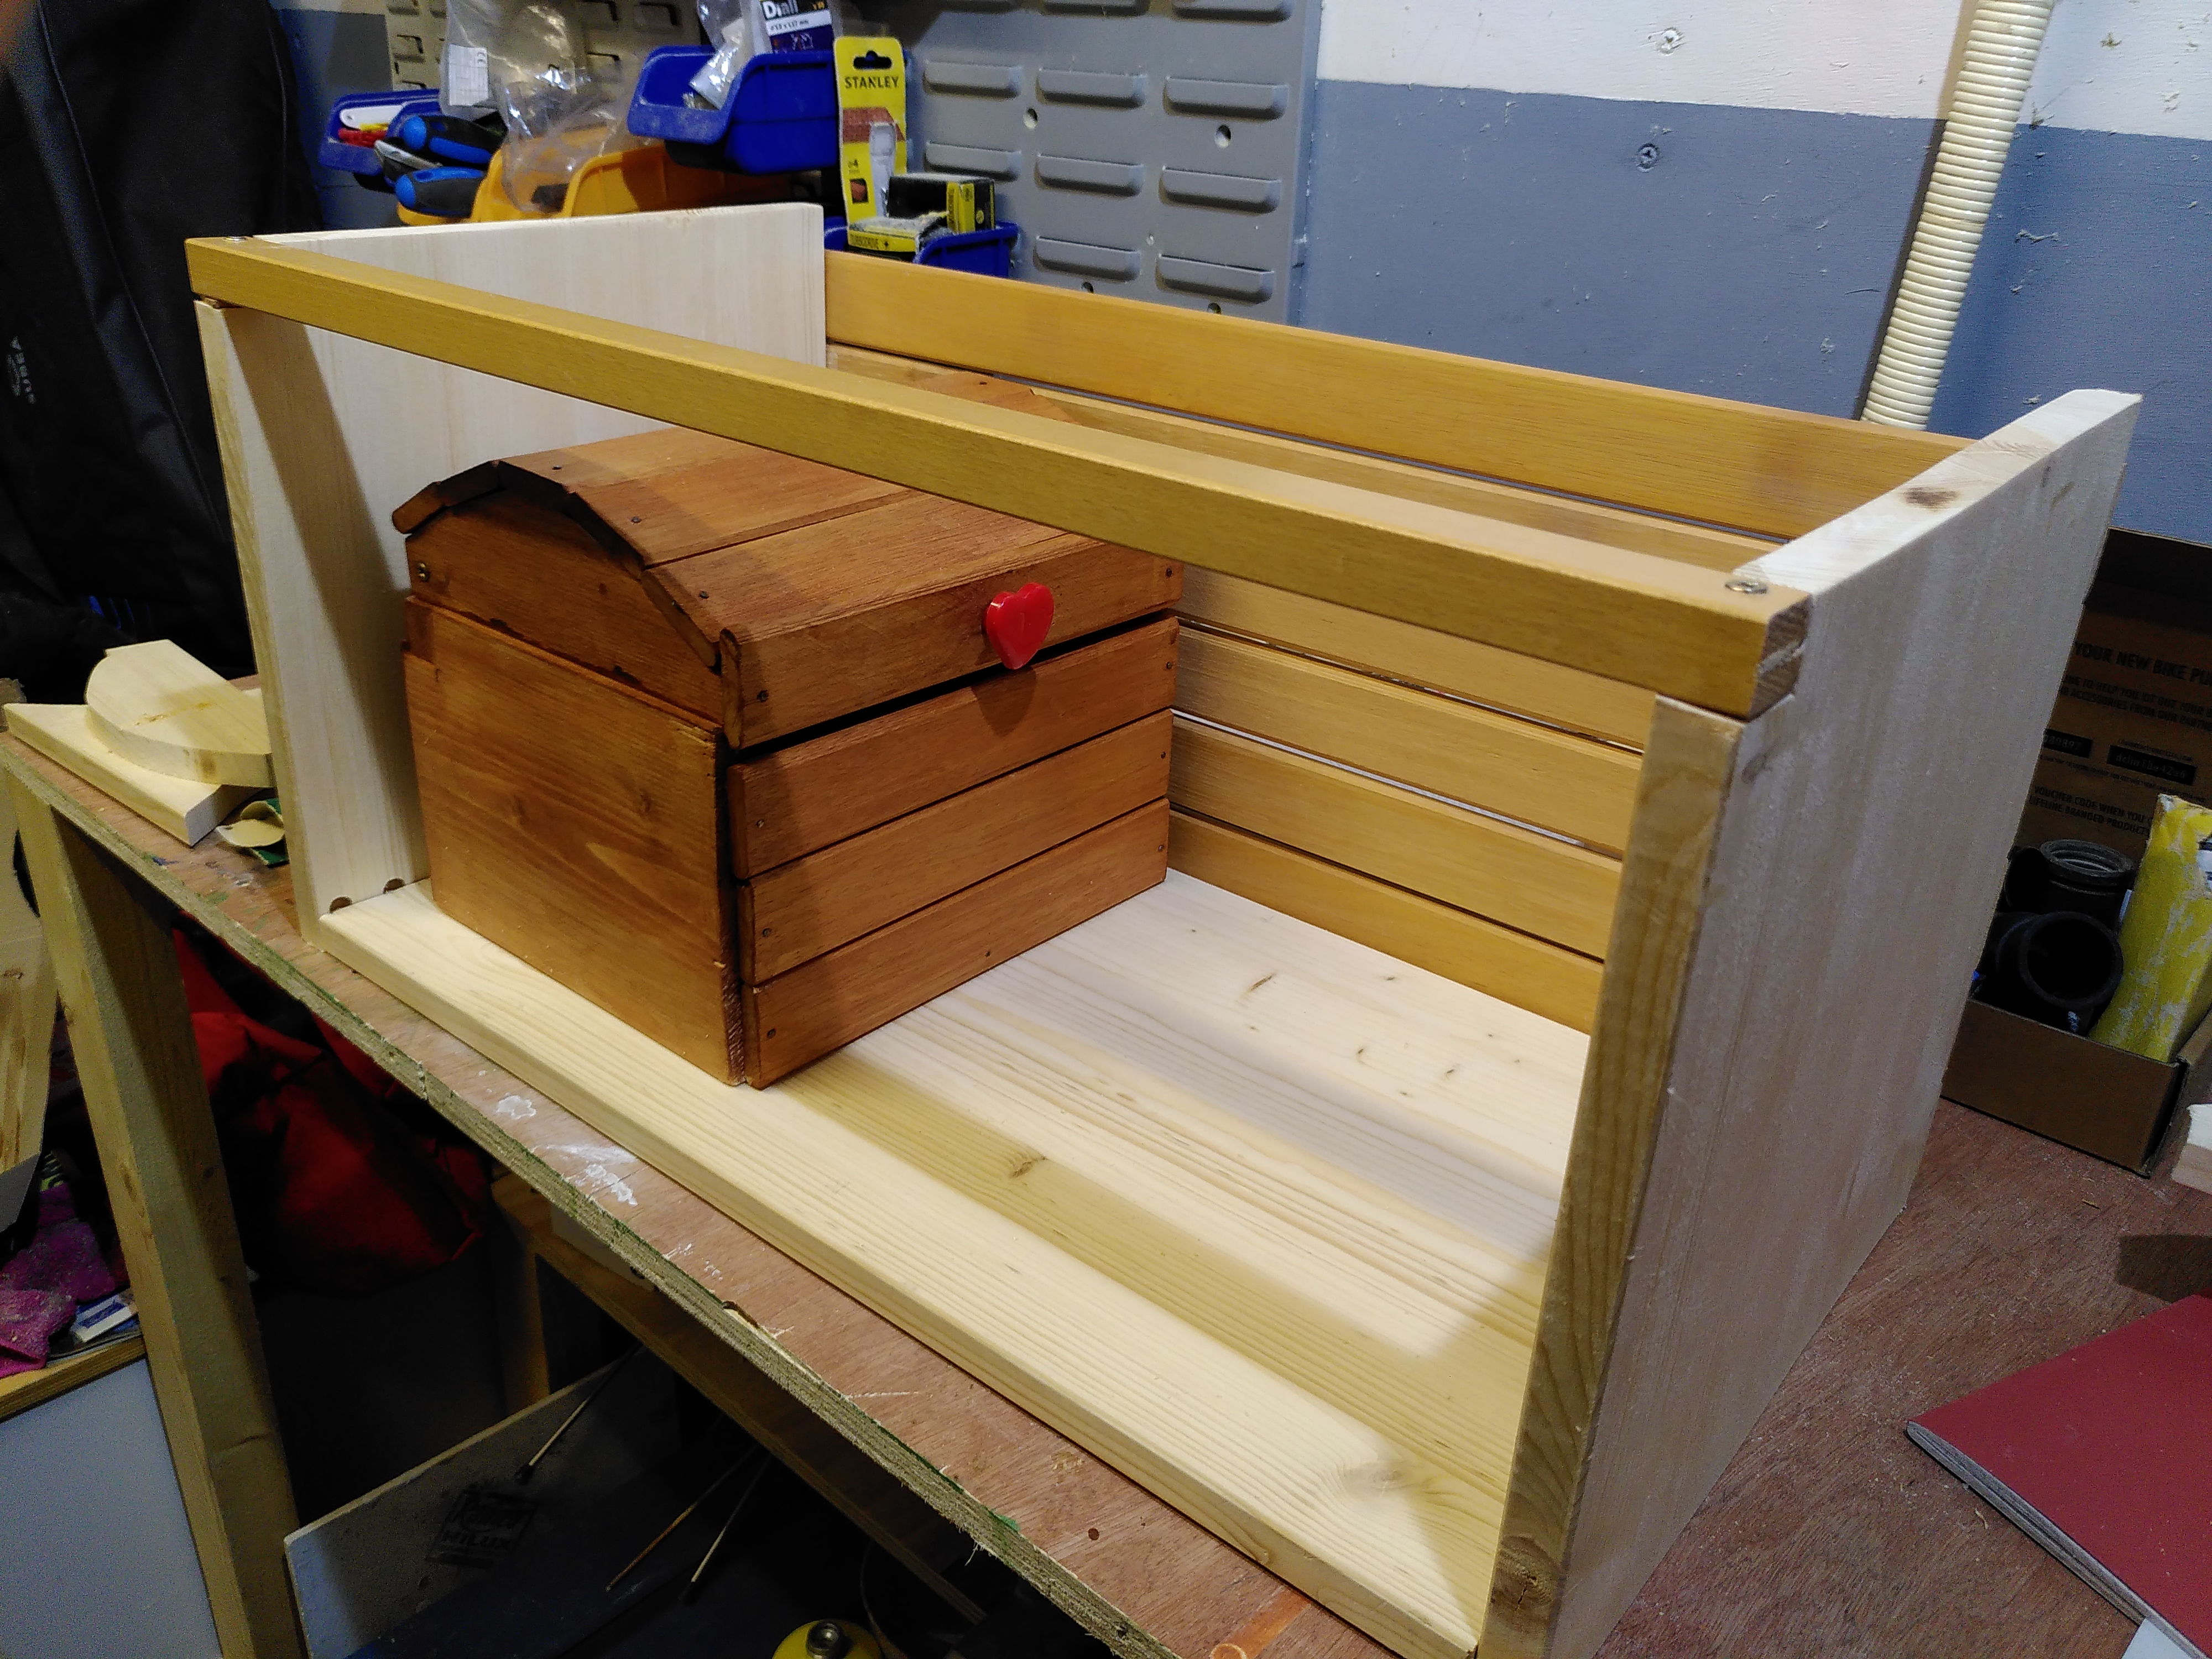 |
My plans worked! The measurements were close enough! The little box fits just inside the bigger one when turned sideways. Here, the larger chest has the slats nailed on the front leaving the back open. I screwed in place a bit of plywood I had spare, that originally came from the back of a wardrobe the previous owners of our house left behind… |
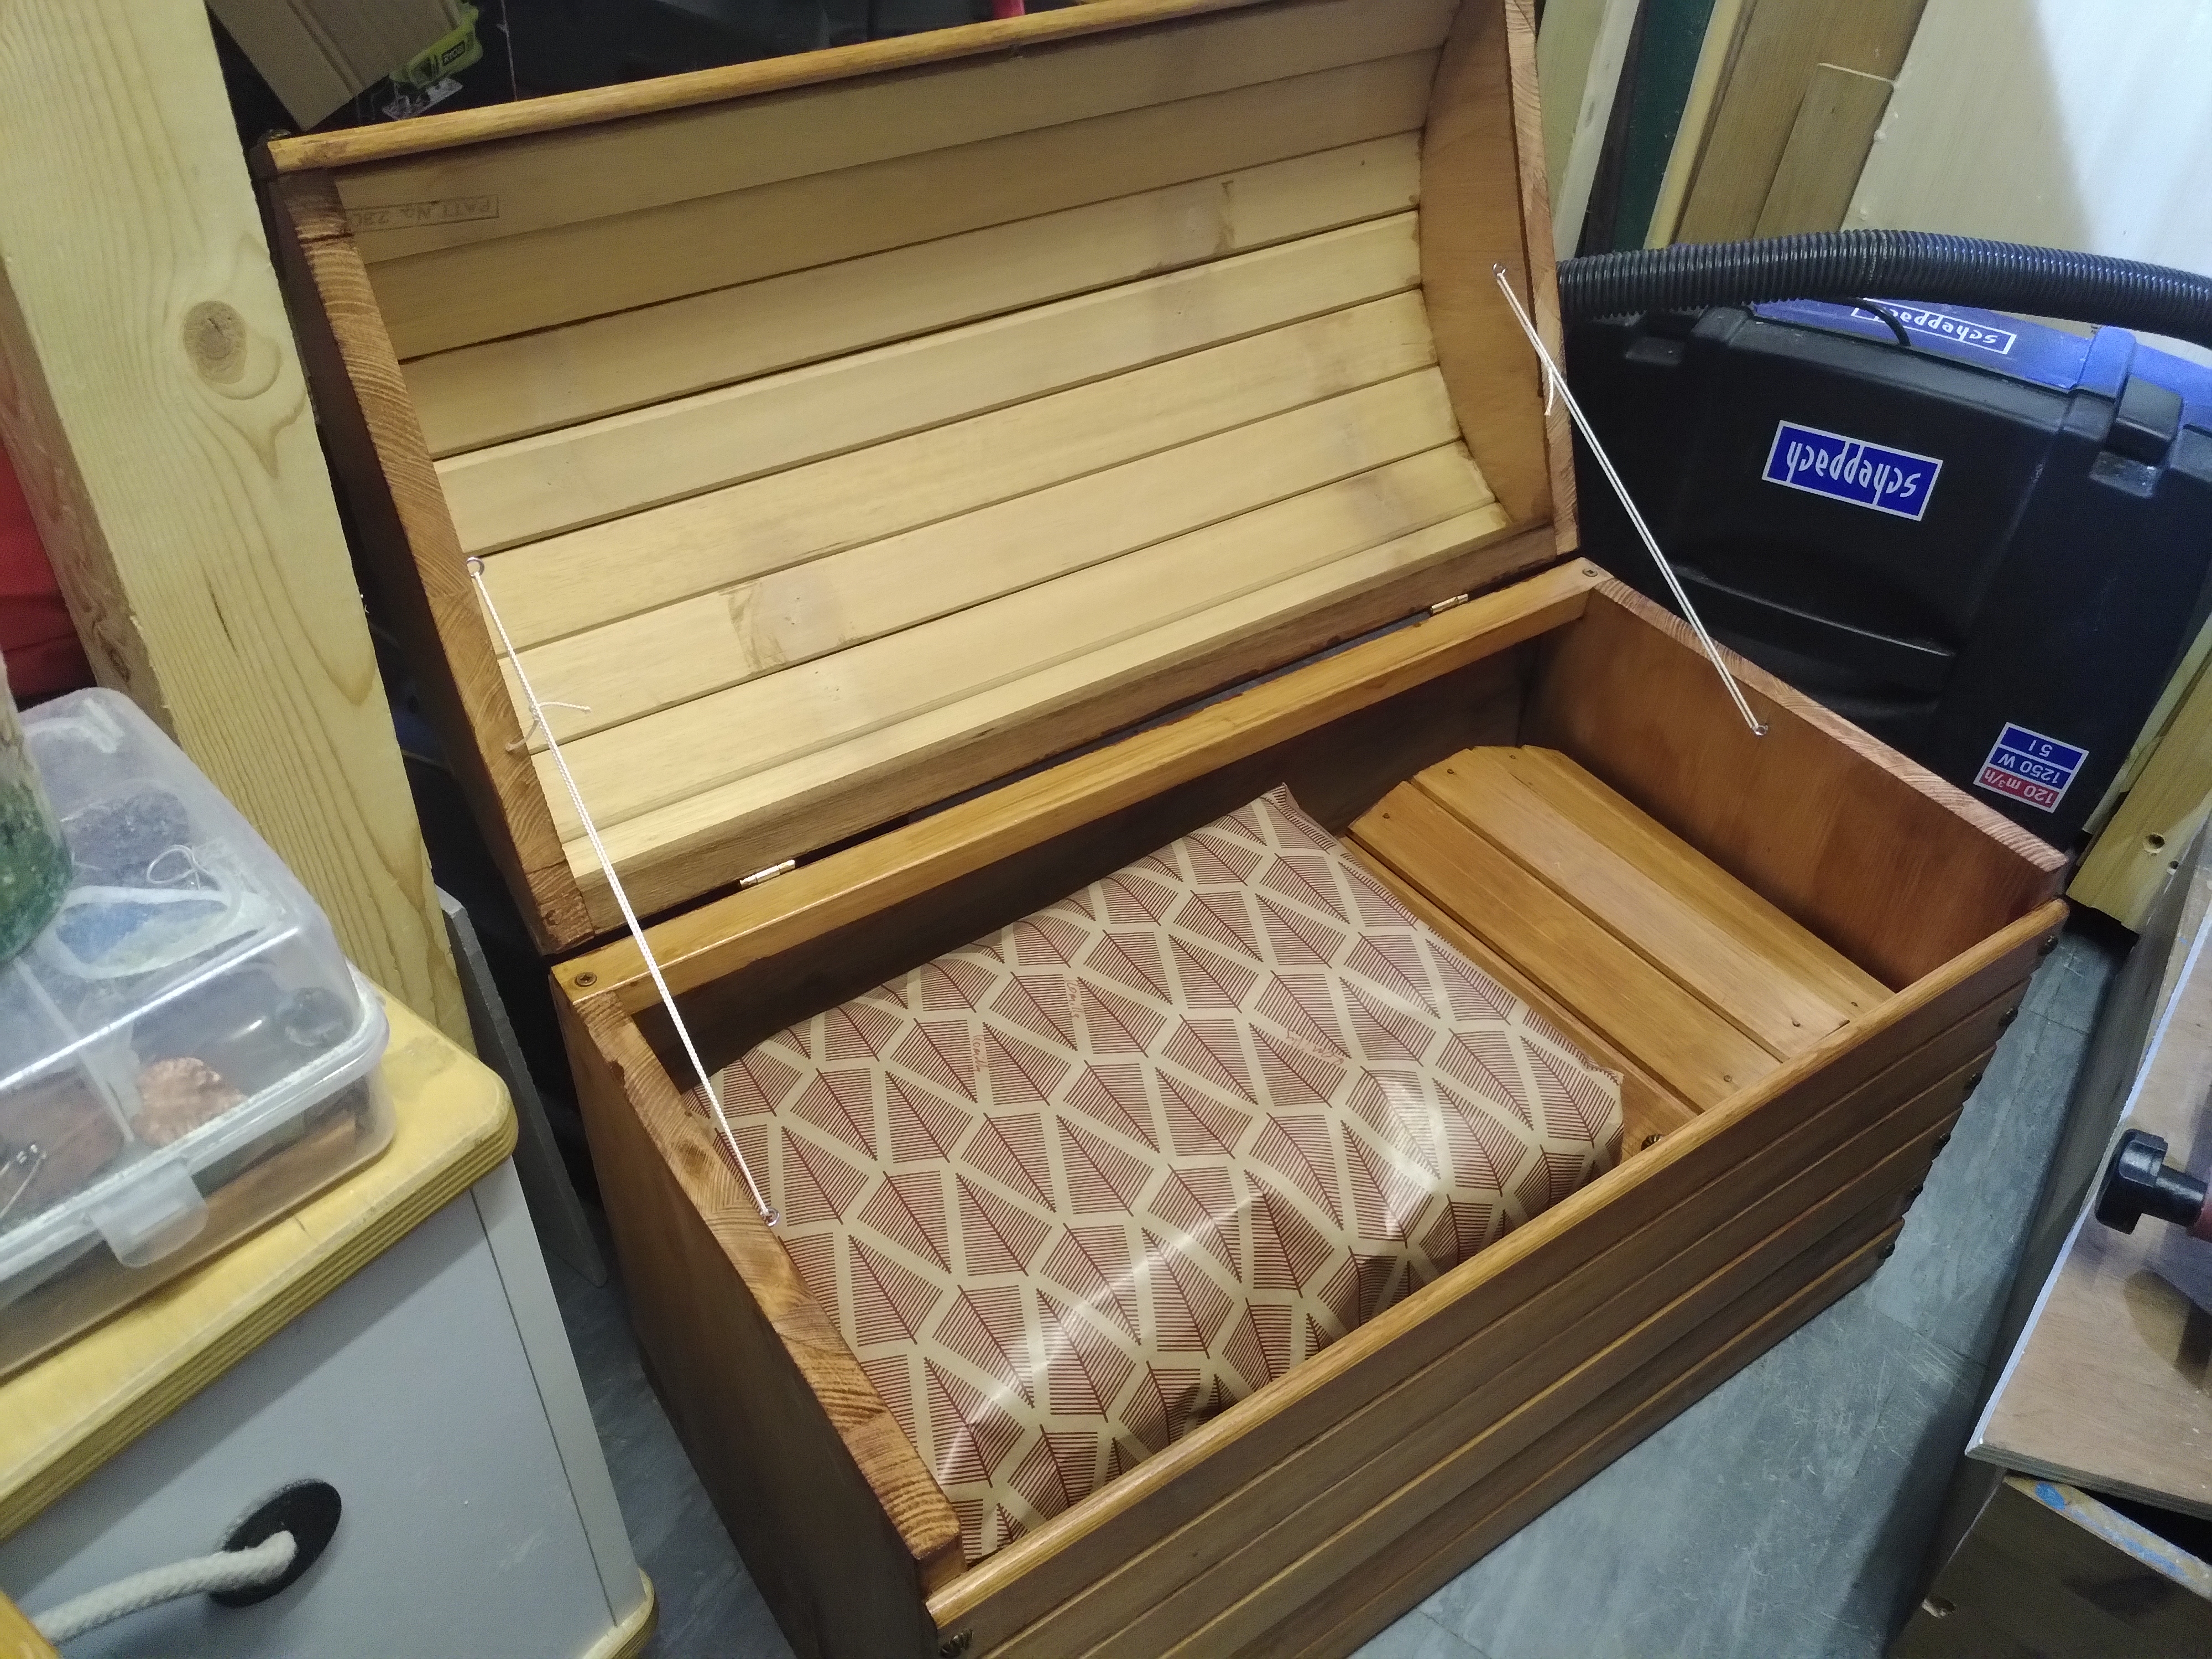
And finally, drum-roll please, here it is on Christmas morning, one big coffer stuffed with presents and a little chest stuffed with pieces of eight, er, chocolate coins. It took me about three weeks from start to finish (mostly evenings and a bit at weekends - thanks to family for their patience with me!), but the look of joy on their faces when the kids saw it filled my heart and made me proud of them and of the chests.
| And here it is in situ, stuffed to the gills with toy cars, horses, dolls, swords and who knows what. I shall now stop with the pirate talk. Arrrr! |
 |
-
The chests were miniature, not the pirate. ↩